No-Bake Peanut Butter Bars: Your Summer Dessert Hero
When the sun is shining, the last thing anyone wants to do is crank up the oven. That's where the magic of no-bake desserts comes in, and few are as universally beloved and ridiculously simple as **no-bake peanut butter bars**. Imagine a rich, creamy, and perfectly chilled treat that melts in your mouth, combining the irresistible flavors of peanut butter and chocolate. This isn't just a dessert; it's a budget-friendly, time-saving, and utterly delicious solution for busy parents, impromptu gatherings, or simply satisfying that sweet tooth without breaking a sweat.
These aren't just any sweet treat; they evoke nostalgia, reminiscent of those coveted store-bought peanut butter cups, but with the added satisfaction of being homemade. They're a fantastic way to beat the summer heat, offering a refreshing chill that perfectly complements a warm day. Plus, with minimal ingredients and even less fuss, you'll be amazed at how quickly you can whip up a batch that will have everyone begging for the recipe. If you're looking for an amazing
easy peanut butter bars recipe, look no further – this no-bake version is a true game-changer.
Why No-Bake Peanut Butter Bars Are Your Summer Go-To
The appeal of no-bake desserts skyrockets during the warmer months, and our **peanut butter bars recipe** is the epitome of summer convenience. Forget about preheating, baking times, or the dreaded oven heat radiating through your kitchen. This recipe liberates you from all that, allowing you to create a decadent dessert using just a handful of pantry staples and a refrigerator.
Effortless Preparation, Unbeatable Flavor
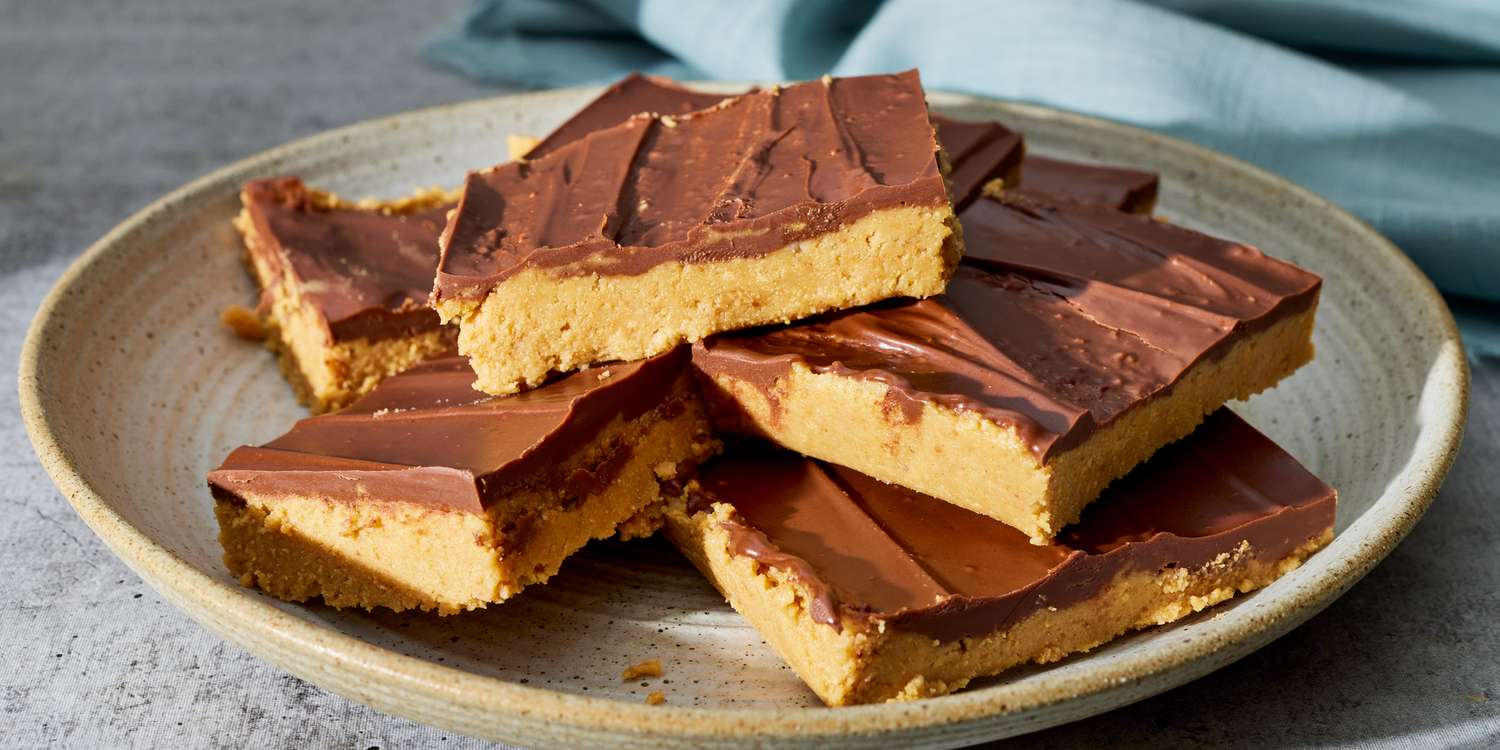
One of the primary draws of these bars is their incredibly straightforward preparation. We're talking about a mere 15-minute hands-on time, making them ideal for those hectic weekdays or last-minute entertaining. You simply mix, press, and chill – it’s as easy as that! The combination of graham cracker crumbs, powdered sugar, melted butter, and creamy peanut butter forms a dense, buttery base that is both sweet and salty. This foundation perfectly complements the rich, smooth chocolate-peanut butter topping, creating a symphony of textures and flavors that's hard to resist. The sweet and salty notes hit just right, offering a sophisticated taste profile despite the humble ingredient list.
Budget-Friendly & Kid-Approved
Another significant advantage is their cost-effectiveness. Utilizing mostly pantry staples like graham crackers, powdered sugar, butter, and peanut butter, this recipe keeps your grocery bill low. This makes it a fantastic option for families or anyone looking to enjoy a delicious treat without a hefty expense. Furthermore, the simplicity of the steps makes this an excellent project for little kitchen helpers. Kids will love mashing, stirring, and pressing, and they’ll be even more excited to taste the fruits of their labor. It's a fantastic way to introduce them to the joys of cooking in a fun, forgiving environment – truly a fool-proof **peanut butter bars recipe** that even a beginner can master.
The Ultimate No-Bake Peanut Butter Bars Recipe: Simple Steps to Sweet Perfection
Ready to dive into deliciousness? Here’s the straightforward, no-fuss **peanut butter bars recipe** that will quickly become a household favorite.
Ingredients You'll Need:
These five simple ingredients are all it takes to create pure magic:
- 2 cups Graham Cracker Crumbs: The classic crunchy base. You can buy them pre-crushed or crush your own graham crackers in a food processor or by hand in a sealed bag.
- 2 cups Powdered Sugar (Confectioners' Sugar): For sweetness and a smooth texture.
- 1 cup Unsalted Butter, melted: The binding agent that makes the base rich and holds it all together.
- 1.5 cups Creamy Peanut Butter, divided: The star of the show! Use your favorite brand, creamy works best for the smooth texture we're aiming for. Divided into 1 cup for the base and 1/2 cup for the topping.
- 1.5 cups Semi-Sweet Chocolate Chips: Melts beautifully for the luscious topping. High-quality chips make a difference here.
Step-by-Step Instructions:
- Prepare Your Pan: Start by lining a 9x9 inch baking pan with parchment paper. Ensure you leave an overhang on two sides; this will act as "handles" later, making it incredibly easy to lift the entire batch of bars out of the pan once they're set.
- Create the Peanut Butter Base: In a large mixing bowl, combine the graham cracker crumbs, powdered sugar, melted unsalted butter, and 1 cup of the creamy peanut butter. Stir these ingredients together thoroughly until everything is well combined and a thick, moist crumb mixture forms. Don't be afraid to get your hands in there if needed to ensure an even mix!
- Press the Base into the Pan: Transfer the crumb mixture into your prepared baking pan. Using a spatula, the bottom of a flat measuring cup, or even your clean hands, press the mixture down firmly and evenly into the bottom of the pan. The firmer you press, the more cohesive and less crumbly your bars will be. Aim for a compact, smooth layer.
- Prepare the Chocolate Topping: In a microwave-safe bowl, combine the semi-sweet chocolate chips and the remaining 1/2 cup of creamy peanut butter.
- Melt and Smooth the Topping: Heat the chocolate mixture in the microwave in 30-second increments. After each interval, stir the mixture thoroughly. Continue this process until the chocolate is completely melted and the mixture is smooth, glossy, and well combined. This gradual heating prevents the chocolate from burning and ensures a silky texture.
- Layer the Topping: Carefully pour the melted chocolate-peanut butter mixture over the pressed base in the pan. Use an offset spatula or the back of a spoon to spread it into an even layer, reaching all the way to the edges.
- Chill to Perfection: This is arguably the most crucial step! Refrigerate the pan for at least 2 hours, or until the chocolate topping is firm and the peanut butter base is fully set. For best results and easier slicing, an overnight chill is even better. Do not rush this step; patience will be rewarded with perfect bars!
- Slice and Serve: Once completely chilled and firm, use the parchment paper overhang to lift the entire block of bars out of the pan. Place it on a cutting board. Using a sharp knife, slice the bars into 16 uniform squares. For extra clean cuts, you can run your knife under hot water and wipe it dry between slices. Serve these delectable treats cold right from the fridge, perhaps with a tall glass of milk!
Mastering Your No-Bake Peanut Butter Bars: Expert Tips & Variations
While our core **peanut butter bars recipe** is incredibly straightforward, a few expert tips and creative variations can elevate your dessert even further.
Pro Tips for Perfect Bars:
- Don't Skimp on Chilling Time: This is critical! If the bars aren't fully set, they'll be messy and crumbly. Two hours is a minimum; overnight is ideal for a truly firm, sliceable bar.
- Parchment Paper is Your Best Friend: The overhang isn't just for easy removal; it also makes clean-up a breeze and prevents any sticking.
- Clean Cuts: For professional-looking squares, dip your sharp knife in hot water and wipe it clean between each slice. This warms the blade slightly, allowing it to glide through the chocolate topping without cracking or dragging.
- Quality Ingredients: While budget-friendly, using good quality creamy peanut butter and semi-sweet chocolate chips will noticeably enhance the flavor.
Creative Variations to Try:
*
Add Extra Crunch: For an extra layer of texture, consider adding 1/2 cup of chopped roasted peanuts or even a handful of mini chocolate chips to the peanut butter base mixture before pressing it into the pan.
*
Beyond Graham Crackers: While graham crackers are classic, you can experiment with other crumb bases. Crushed Oreo cookies (for a chocolate sandwich base), digestive biscuits, or even vanilla wafers can offer unique flavor profiles.
*
Topping Twists:
*
Sea Salt Sprinkle: A light sprinkle of flaky sea salt over the chocolate topping just after spreading it adds a sophisticated sweet-and-salty balance.
*
Peanut Butter Chips: Swirl in some melted peanut butter chips with your chocolate for an even more intense peanut butter flavor.
*
White Chocolate Swirl: Melt a bit of white chocolate and drizzle it over the chocolate topping, then swirl gently with a toothpick for an elegant marble effect.
*
Mini M&M's or Sprinkles: For a fun, kid-friendly touch, sprinkle colorful mini M&M's or sprinkles over the wet chocolate topping.
*
Nut Butter Alternatives: While the classic is peanut butter, feel free to experiment with almond butter or cashew butter for a different flavor profile, keeping in mind that textures might vary slightly.
These
classic peanut butter bars are incredibly versatile, allowing you to tailor them to your taste and occasion.
Beyond the Kitchen: Serving & Storing Your Delicious Creation
These no-bake peanut butter bars aren't just easy to make; they're also incredibly convenient for serving and storage, making them perfect for almost any occasion.
Serving Suggestions:
*
Chilled Perfection: Always serve these bars cold, straight from the fridge. The firm, chilled texture is part of their charm, especially on a warm day.
*
Party Favorites: Their robust nature makes them travel exceptionally well. Pack them in a cooler with ice packs for summer block parties, picnics, potlucks, or family gatherings. They'll be a guaranteed hit, and your friends will undoubtedly ask for the recipe! Watch them disappear quickly at any gathering.
*
Lunchbox Treat: They make a fantastic addition to lunchboxes for kids and adults alike, offering a satisfying sweet treat during the day.
*
Simple Indulgence: Pair them with a tall glass of cold milk for a classic and comforting snack or dessert.
Storage & Freezing:
*
Refrigeration: Keep your no-bake peanut butter bars in an airtight container in the refrigerator. They will stay fresh and delicious for up to one week. The cool temperature helps maintain their firm texture and prevents the chocolate from becoming too soft.
*
Freezing for Later: These bars are also excellent for freezing, making them a perfect make-ahead dessert for busy weeks or future cravings. To freeze, wrap individual bars tightly in plastic wrap or store them in a freezer-safe airtight container, separated by parchment paper. They can be frozen for up to 2-3 months.
*
Thawing: When you're ready to enjoy a frozen bar, simply take it out of the freezer and let it thaw at room temperature for a few minutes until it's easy to bite into, or enjoy it still partially frozen for an even colder treat.
Your Easiest Summer Indulgence Awaits!
There's something truly satisfying about a dessert that requires minimal effort but delivers maximum flavor, and these no-bake peanut butter bars fit that bill perfectly. They embody convenience, budget-friendliness, and sheer deliciousness, making them the ultimate summer go-to. Whether you're dodging oven heat, entertaining last-minute guests, or simply craving a rich, sweet treat that reminds you of your favorite candy bar, this **peanut butter bars recipe** is your answer. So gather your simple ingredients, dedicate a few minutes to mixing, and let your refrigerator do the rest. You're just a chill away from a delightful, creamy, and utterly irresistible dessert that everyone will adore. Get ready to enjoy the easiest, most rewarding sweet treat of the season!